If we installed LEMP (Linux, Nginx, MySQL and PHP) and security certificate on our Virtual server (VPS), we can start to work on our website. Not everyone can create a website from scratch in HTML, JavaScript or PHP, so there are available CMS, meaning Content Management System.
One of the most popular and most used CMS globally is WordPress (WP). As it is a content management system, it will ease the whole process of creating a website. Website with a unique look and content can be created without the knowledge of programming, you can simply use the web browser.
Setting web server Nginx
So the WrodPress would be able to display articles on permalinks in nice format (instead of /?p=1 there will be /hello-world/at the end of the URL), we have to edit the configuration file of the Nging web server:
sudo nano /etc/nginx/sites-available/default
In the configuration file locate a part beginning with location / and add directives try_files settings /index.php?$args. Added line will look like this:
try_files $uri $uri/ /index.php?$args;
Press Ctrl + X to save configuration file, then press y and then press Enter.
Restart the web server Nginx, for the change in the configuration file would take effect:
sudo systemctl restart nginx
Install necessary module of PHP language
Firstly it is necessary to secure that all packages are up to date. Let’s install all updated software in two commands in one go:
sudo apt update && sudo apt upgrade
If the system finds updated packages, it will ask, if we want to install them:
Do you want to continue? [Y/n]
Press the key y if you want to start updating process or key n, if you do not want to update. Then press Enter.
For WordPress to work as a whole, you need modules, that are not ready after standart installation of PHP language. We can install them with this command:
sudo apt install php-curl php-gd php-imagick php-mbstring php-xml php-zip
The system will ask if you want to install the modules:
Do you want to continue? [Y/n]
Press the key y if you want to start updating process or key n, if you do not want to update. Then press Enter.
Creating user in MySQL
WordPress stores its text details like articles and comments to the database. For WordPress would communicate to the database server securely we need to create a new user with reduced rights (we will not use the root). Run the communication with the database server MySQL:
sudo mysql
and create a user (here tibor), and set a strong password (here This.Is.strong:Password). Use at least 8 characters – lower and upper case, numbers and special symbols like dot, comma, at, question mark, exclamation mark, etc.
create user 'tibor'@'localhost' identified by 'This.Is.strong:Password';
Exit the MySQL server:
exit
Installing WordPress (WP-CLI)
The easiest and quickest way of installing WordPress is to install it via official tool WP-CLI, that we download via command:
curl -O https://raw.githubusercontent.com/wp-cli/builds/gh-pages/phar/wp-cli.phar
Wait for the installation to finish and then check if the downloaded tool works:
php wp-cli.phar --info
To simplify the use of this tool, we will set rights to run the program (first line) and move it to the corresponding directory (second line):
chmod +x wp-cli.phar
sudo mv wp-cli.phar /usr/local/bin/wp
From now on the tool WP-CLI will be called via shorter command wp, so instead of php wp-cli.phar --info enter:
wp --info
Before you use WP-CLI tool, update it first:
sudo wp cli update
Before the installation itself delete all the files and directories from a directory html:
sudo rm -rf /var/www/html/*
Then to the now empty directory html download the newest version of WordPress:
sudo wp core download --path=/var/www/html --locale=en-GB --allow-root
Wait for the core WordPress download and then create a WordPress configuration file:
sudo wp config create --path=/var/www/html --dbname=wordpress --dbuser=tibor --dbpass=This.Is.strong:Password --locale=en-GB --allow-root
We create a database that we link in the configuration file:
sudo wp db create --path=/var/www/html --allow-root
At the end simply let the installation to the html directory finish, while change the switch --url, --title, --admin, --admin_password a --admin_email to those who suit the current WordPress installation the best:
sudo wp core install --path=/var/www/html --url=https://vps.websupport.tech/ --title=WordPress --admin_user=tibor --admin_password=This.Is.strong:Password --admin_email=tibor.repcek@websupport.sk --skip-email --allow-root
So we could install and update plugins, themes and languages straight (not via FTP), we need to add to the end of the confuguration file a settings: define('FS_METHOD','direct');:
sudo nano /var/www/html/wp-config.php
last line (here line 80) of the configuration file wp-config.php will look in the text editor:
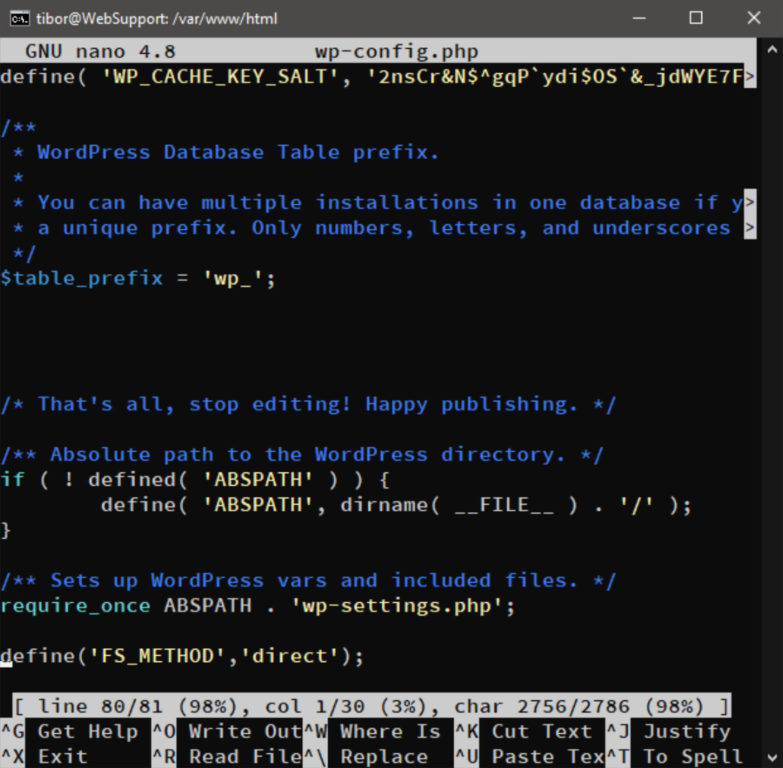
Configuration file is saved by Ctrl + X, then pressing y and confirming with Enter.
Last setting regards ownership and file rights. This way we secure that we will be able to edit settings and update WordPress from the web browser:
sudo chown -R www-data:www-data /var/www/html
sudo find /var/www/html/ -type d -exec chmod 775 {} \;
sudo find /var/www/html/ -type f -exec chmod 664 {} \;
Verify the function of the installed WordPress
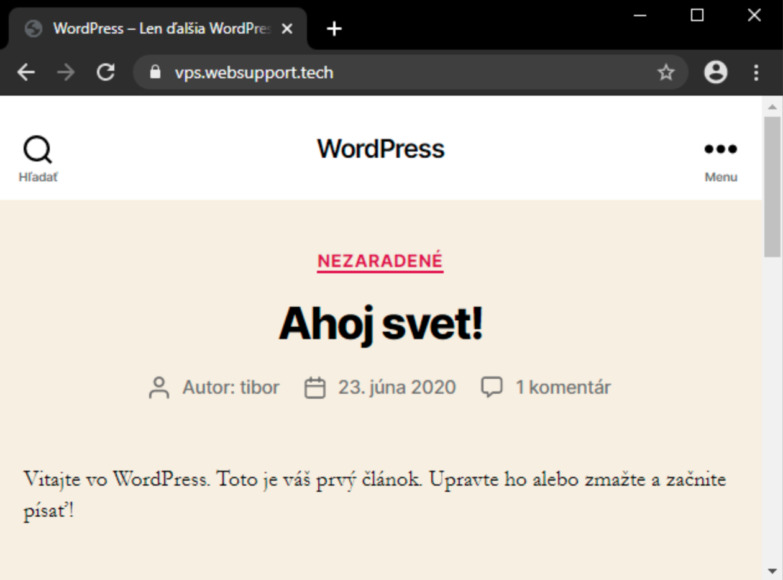
In the web browser we can now load the URL address that we have set in the value of switch --url for WordPress installation (here https://vps.websupport.tech/). A main page will be displayed with the welcome page “Hello world”
From now on the settings, updates and adding content can be done via administration interface in the web browser. We can log in on the address that we have set in the value of switch --url for WordPress installation along with the title of PHP file that handles user logins to the WordPress (here https://vps.websupport.tech/wp-login.php). Login detailse are set from switches --admin_user (here tibor) and --admin_password (here This.password.is:strong).
Summary
We have set the web server Nginx, installed missing modules for PHP and created new MySQL user so we could install WordPress via tool WP-CLI. Whole installation process run in the command line (linux shell bash) and at the end we verified the installation in the web browser. All other WordPress features will be available for setup in browser administration tool. The same way via web browser we can install, update or add new content.