Vesta Control Panel (VestaCP) is an open-source control tool that allow the configuration and management of the serer via web browser (web GUI). Core itself consists of Bash scripts that call frontend programmed in PHP and JavaScript. More about VestaCP can be found at vestacp.com.
Installation is relatively simple, the following setup focuses on Ubuntu 18.04 LTS.

Try out the performance of the premium VPS
Its better to try that than to hear about it – try out the professional Virtual server from Active24 for production usage for free.
Uncompromising dedicated performance, snapshots for free, SSD for all your data.
More at active24.cz/servery (only available for CZ and SK markets)
Guide for installation of VestaCP
Warning: VestaCP is recommended to install on empty operating system where there are no preconfigured application.
Hint: Before you use this guide, we would recommend to have a knowledge of installing packages on the server and editing configuration via console to one of the editors.
Warning: following commands are to be used as root.
1. Update repositories and install package updates
apt-get update -y apt-get upgrade -y2. Edit server name
Warning: Name of the server and domain via which the control panel will be accessible is vestacp.example.com. Name can be customised as you see fit including DNS settings.
Edit file /etc/hosts by adding a line
127.0.0.1 vesta.example.com
3. Download installation script
wget http://vestacp.com/pub/vst-install.sh
Set the rights to execute the script
chmod 755 vst-install.sh
4. Execute the script
bash vst-install.sh
Information about installation will appear
 _|      _|  _|_|_|_|    _|_|_|  _|_|_|_|_|    _|_|
 _|      _|  _|        _|            _|      _|    _|
 _|      _|  _|_|_|      _|_|        _|      _|_|_|_|
   _|  _|    _|              _|      _|      _|    _|
     _|      _|_|_|_|  _|_|_|        _|      _|    _|

                                  Vesta Control Panel


The following software will be installed on your system:
   - Nginx Web Server
   - Apache Web Server (as backend)
   - Bind DNS Server
   - Exim Mail Server + ClamAVSpamAssassin
   - Dovecot POP3/IMAP Server
   - MySQL Database Server
   - Vsftpd FTP Server
   - Softaculous Plugin
   - Iptables Firewall + Fail2Ban


Would you like to continue [y/n]:
After confirmation you need to enter the administrator e-mail and FQDN
Please enter admin email address:
Please enter FQDN hostname:
Then the installing process will run and may take about 15 minutes. After it is completed you will gain the following information:
  _|      _|  _|_|_|_|    _|_|_|  _|_|_|_|_|    _|_|
  _|      _|  _|        _|            _|      _|    _|
  _|      _|  _|_|_|      _|_|        _|      _|_|_|_|
    _|  _|    _|              _|      _|      _|    _|
      _|      _|_|_|_|  _|_|_|        _|      _|    _|


 Congratulations, you have just successfully installed Vesta Control Panel


     https://vesta.example.com:8083
     username: admin
     password: aaaAAAbbbCCCddd
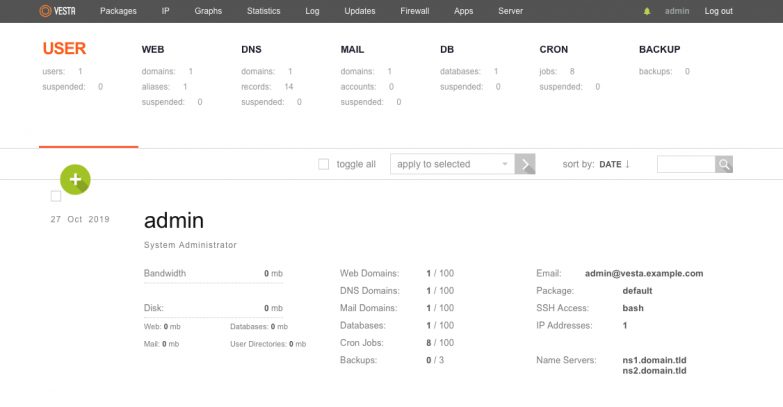
Web interface VestaCP
Web GUI is accessible on address https://vesta.example.com:8083
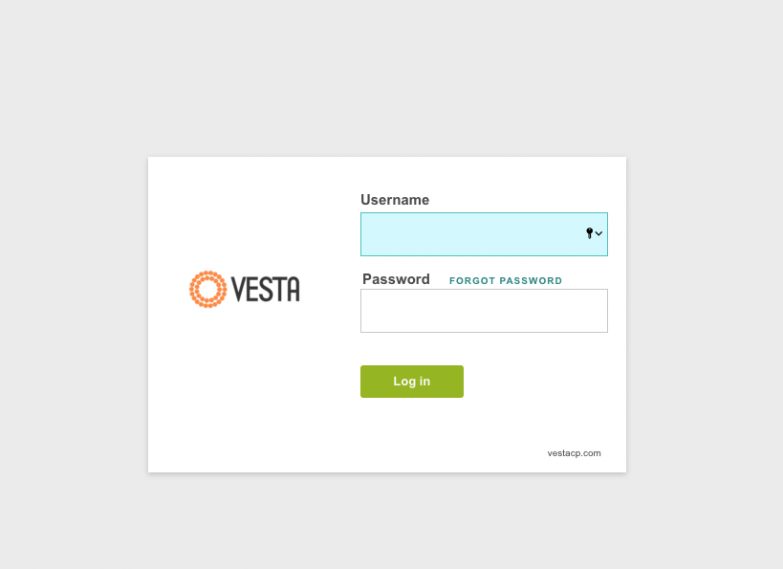
For login use the login details you acquired at the end of the installation process.
Hint: after the first login we recommend to change the password. Select the user admin in the top right corner and go to Password section.

- Vesta Control Panel on GitHub https://github.com/serghey-rodin/vesta
- Official website https://vestacp.com/