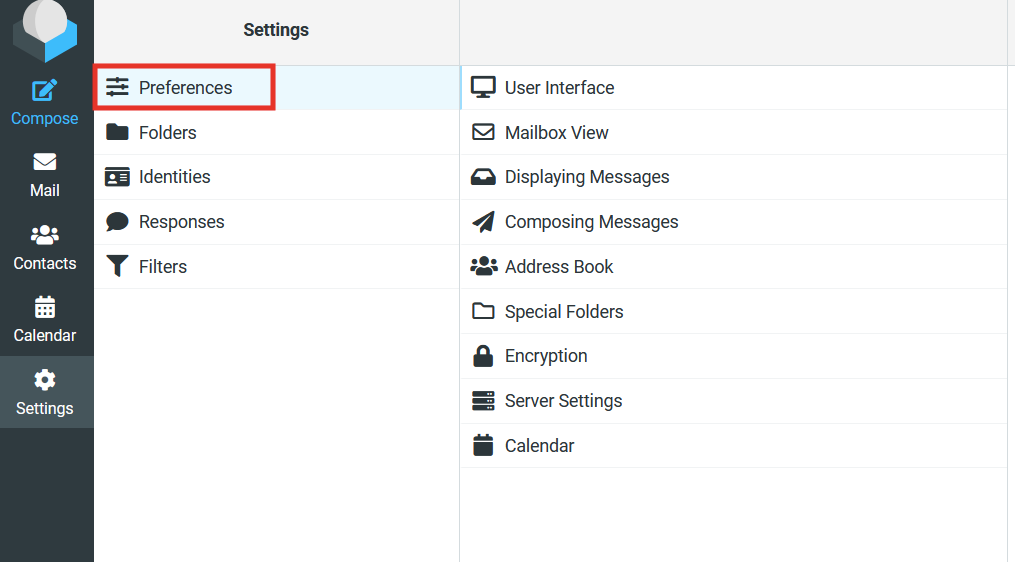
Log in to the RoundCube at mail.active24.eu. You can get to the settings by selecting Settings at the top right corner after you log in. Here you can find sections Preferences, Folders and Identities.
In the section Preferences you can set various settings: setting of user interface, mailbox view, messages, contacts and others.
User interface
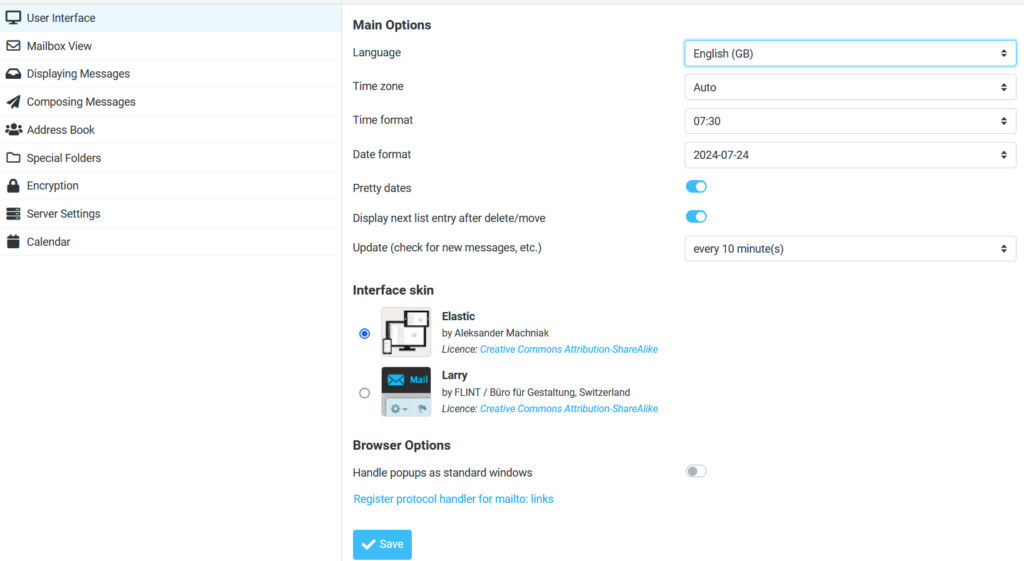
In this section you can change language you want to use or a time zone you are in. There is also setting for date and time. You can customize the look of the interface to your liking (either Elastic, modern looking skin which is set by default, or Larry).
Mailbox view
Here you can set the page layout, message marking, return receipt, number of rows etc.

Composing messages
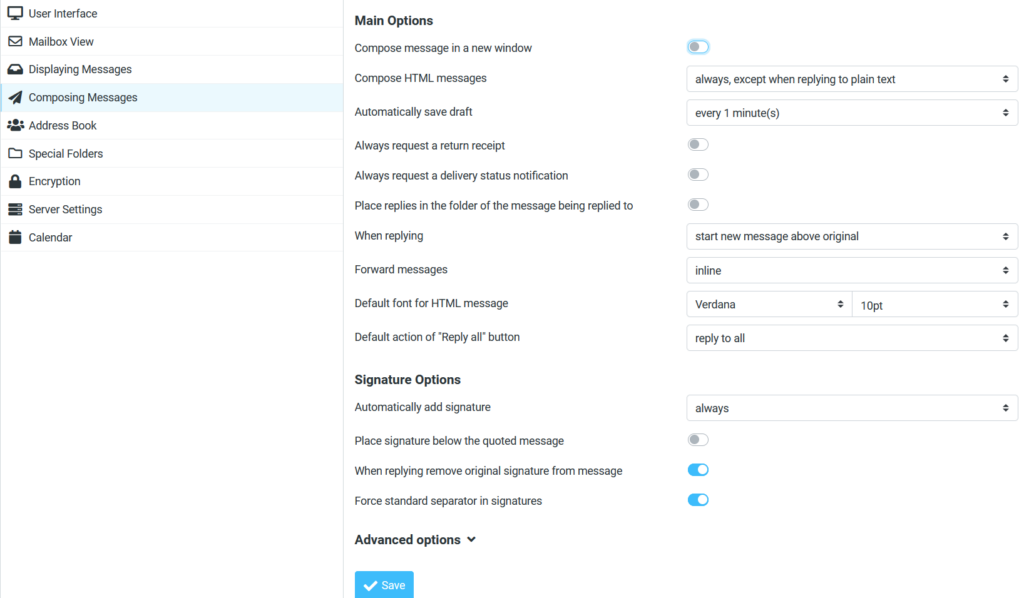
Here you can find multiple setting that concern the creation of the message. If you need to compose a HTML message you can activate this option here. Here you can also activate the period for automatic save of the draft.
Settings Always request a return receipt and Always request a delivery status notification will allow you to receive a notification whether the message has been delivered to the destination or not. In that case you will always be notified about that. There are also additional settings, you can use mainly Default font of HTML message or Spellcheck Options.
Displaying messages
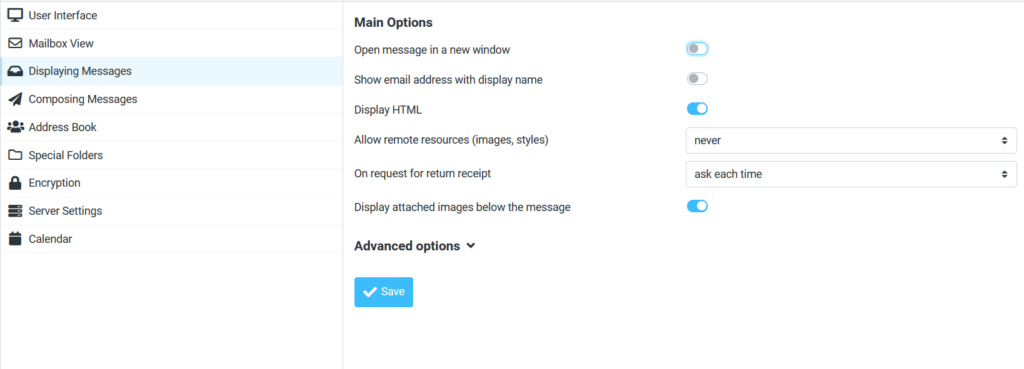
In this section you can set a Default Character Set of your e-mails, displaying attached images below the message or allow remote resources to be displayed.
Contacts
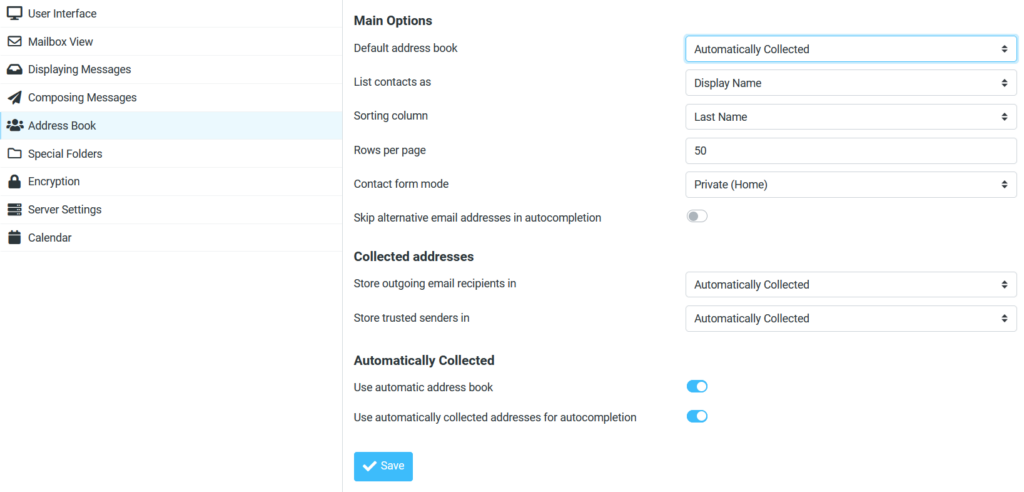
In this section you can set how your contacts will be shown (full name, name surname, surname name etc) and the sorting options.
Special folders
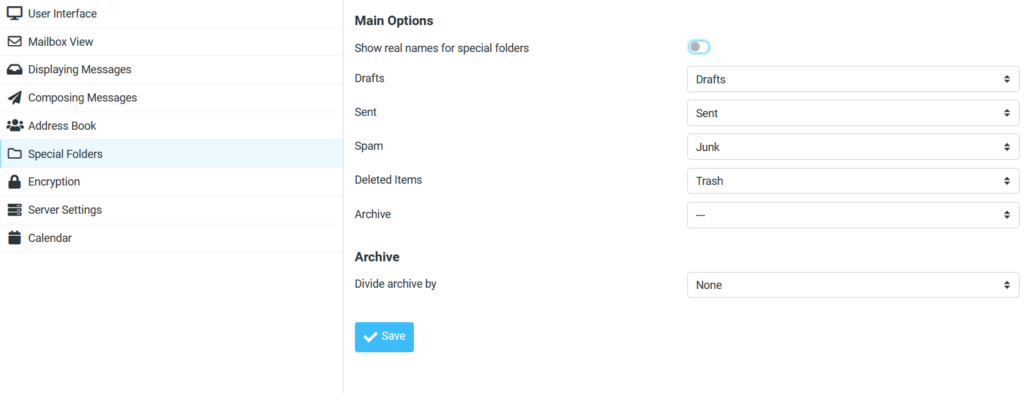
Here you can make changes to the default structure of folders (Draft, Junk, Sent a Trash).
Server settings
Important settings in this section are mainly not displaying deleted messages, deleting messages when they are moved to the Trash and deleting messages that get into Spam.
You can also set here the clearing trash after logout.

In the section Folders you can create folders (A) or set displaying of exiting folders in the mailbox interface (B):
A/

B/

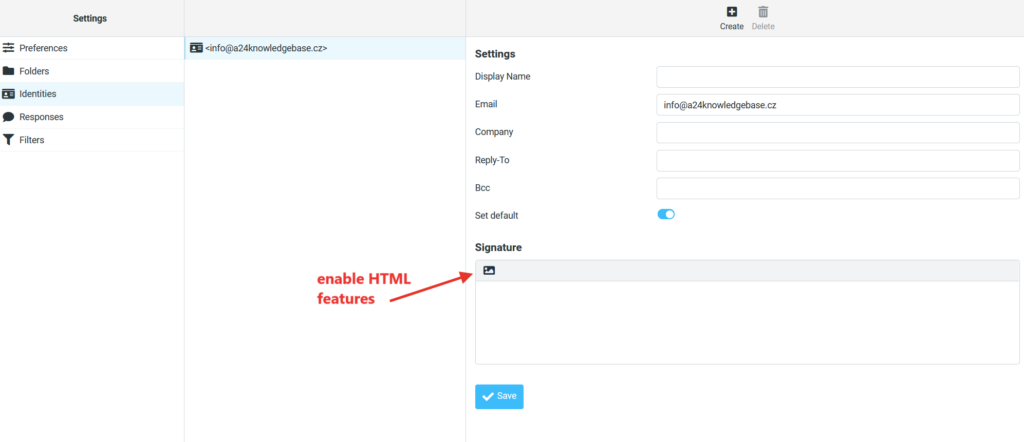
In the section Identities you can add your own signature
To create a signature, after you log in to the Webmail:
- Go to Settings (step 1).
- Select Identities on the left (step 2)
- In the step 3 select ” + ” symbol at the bottom of the screen to create a new profile
- If you already have a profiles, simply select it (step 4)
- A form will be displayed on the right that you need to fill
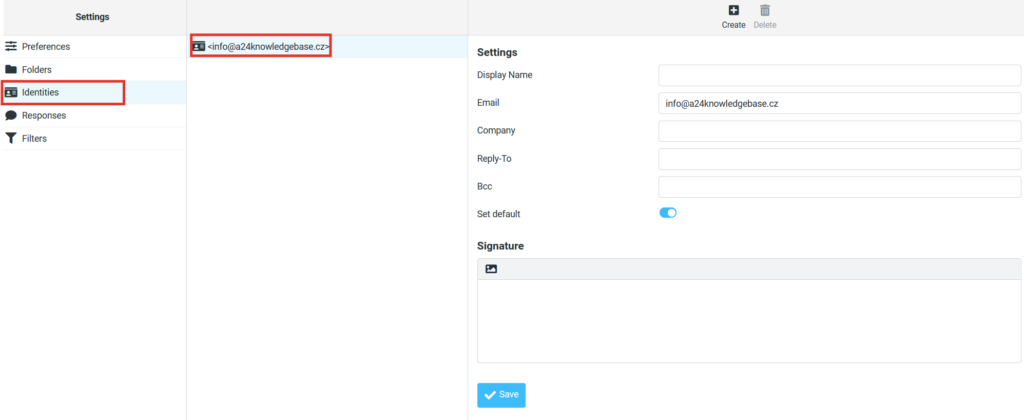
In the next step go to the Signature field where you will create your own signature. You can use a HTML editor where you can use HTML commands to enhance the aesthetics of the signature. When you compose a new message this signature will be used at the end of the message for all future e-mails.
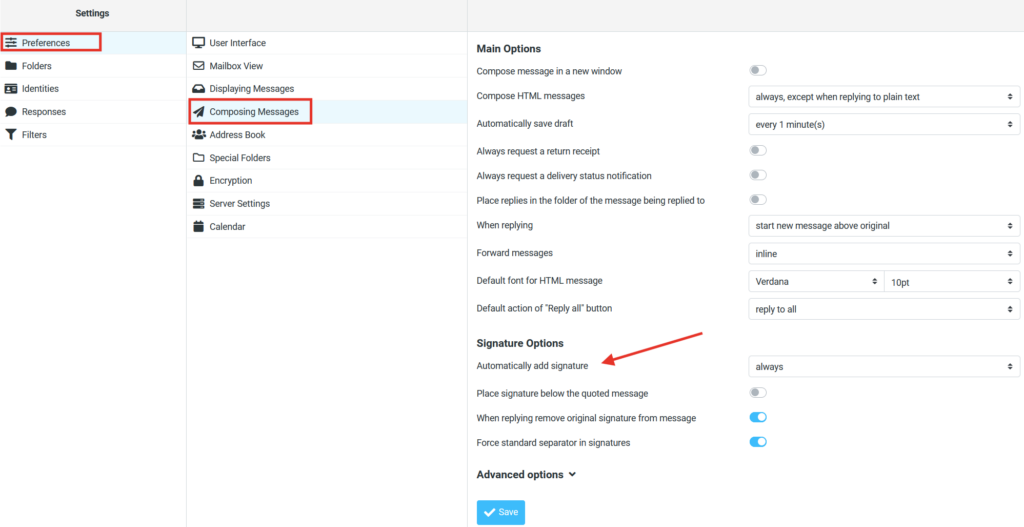
Adding or removing message signature
E-mail signature can be turned off anytime. Simply go to the Settings > Preferences and go to Composing messages. Here locate Signature Options where you can edit option to Automatically add signature. You can switch between adding signature to the new messages or replies. You can also completely turn off the signature.
