This guide will cover the initial settings of your hosting and creating first access to the services. How to connect a domain to the hosting, create e-mail address, FTP account, database and install the content management system like WordPress.
Connecting a domain to the hosting
1. Log in to the Webadmin
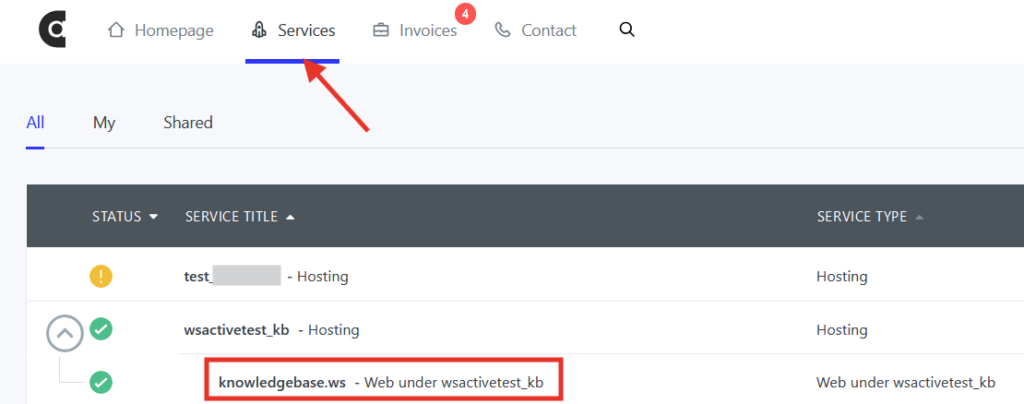
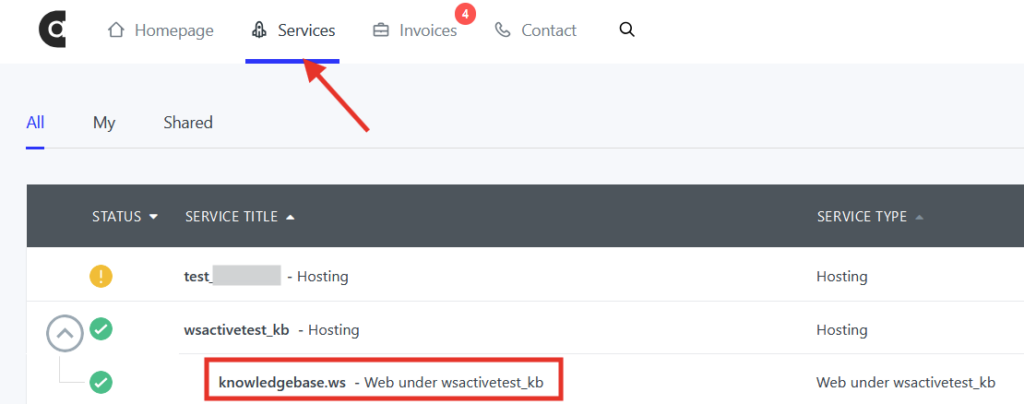
2. Select the hosting in the Services tab

3. In the Associated domains select Assign domain
4. In the menu select or manually enter the domain and select Connect
5. Popup window will open with several options. To create storage space for your website, you should select the first option Standard. If you want to install WordPress right away, you can select the second option Standard + automatic WordPress install instead.

Creating an e-mail address
1. Select your web under domain in the Services section

2. In the left menu select section E-mails
3. On the right side select a button Create a mailbox

You can find additional information for creating and managing mailbox in article Mailbox creation.
Create a FTP account
1. Select your domain in the of Services section

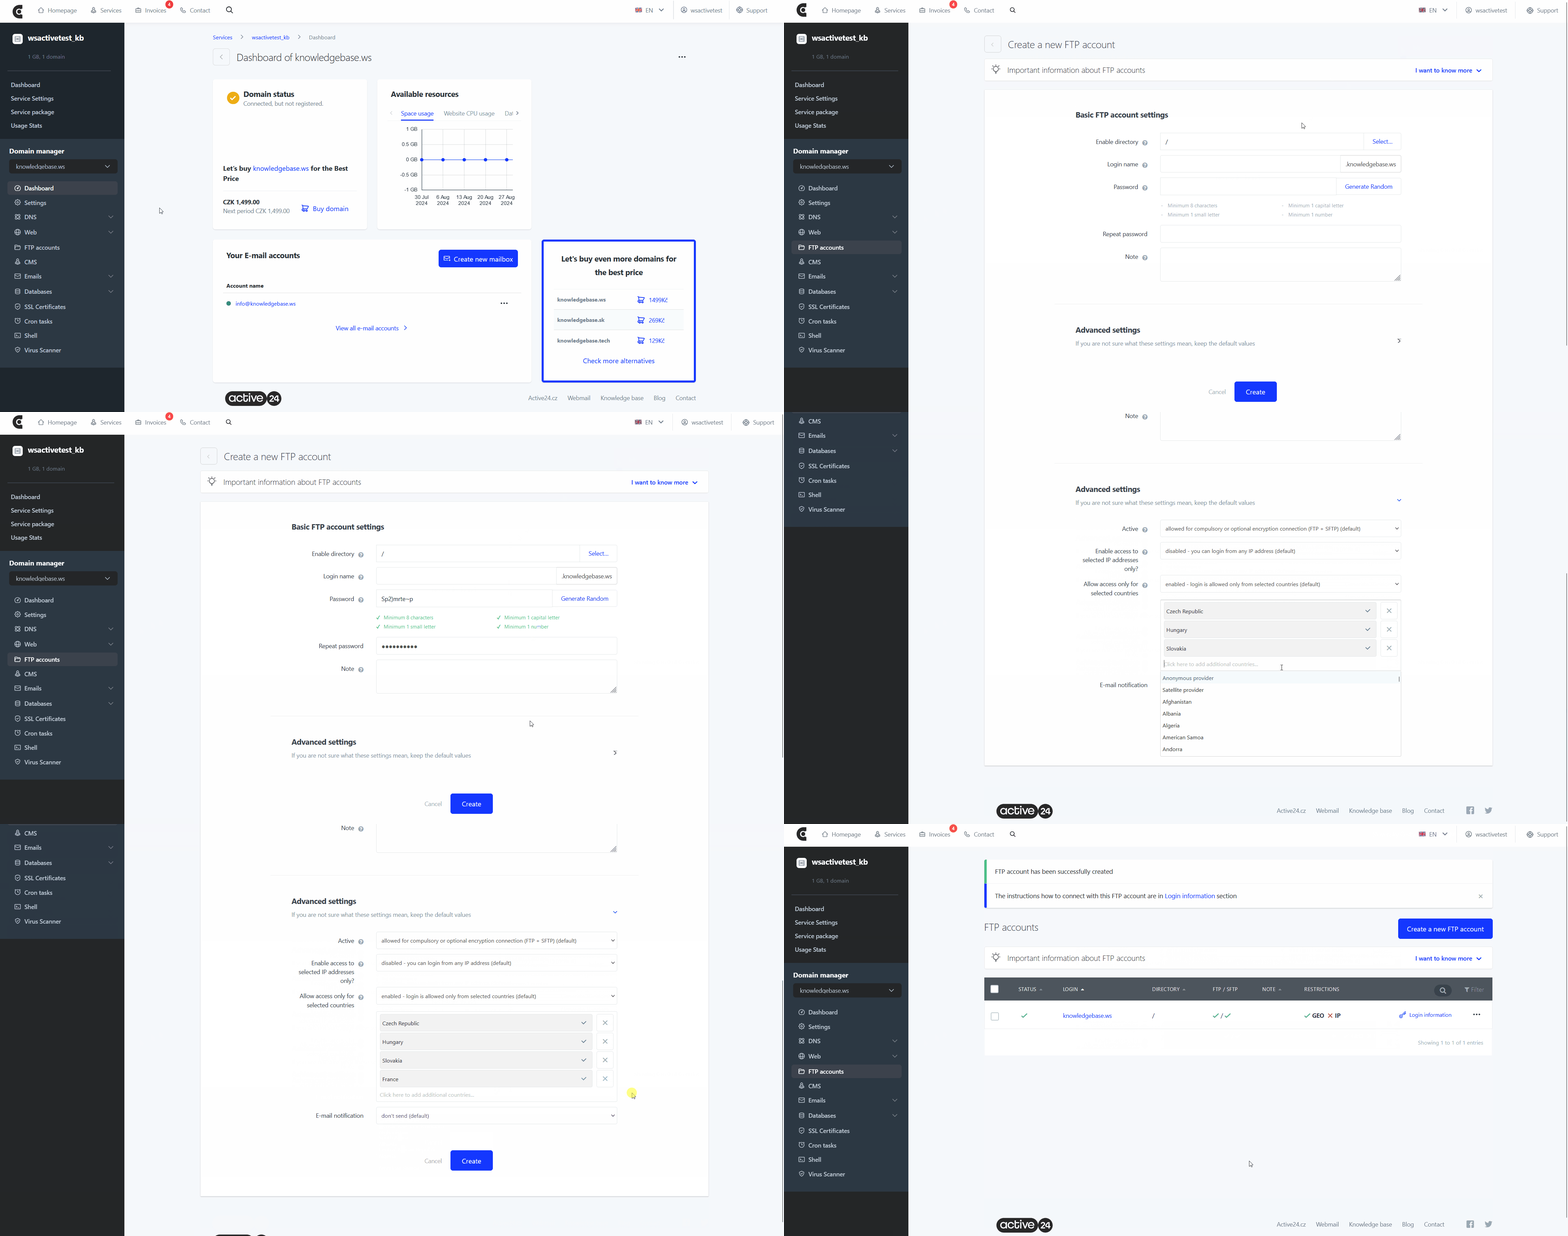
2. In the left menu select FTP accounts
3. On the right side select the button Create a new FTP account

You can find more information and management of FTP in the guide FTP login credentials.
Creating a database
1. Select your domain in the Services section

2. In the left menu select Databases
3. On the right side select the button Add new database
4. Fill in your password. You can also select the database login or you can leave the generated login. You can leave rest of the options as they are.

You can see a full guide with database creation and management in Creating a database article.
Installing content management system (CMS)
1. Select your domain in the Services section

2. In the left menu select section CMS
3. Click on Install under your chosen CMS
4. Fill the form for login details and finish the installation
5. CMS will be installed within 15 minutes

