It is possible to install CMS WordPress in multiple ways on our hosting. The quickest way is to use our installer, but if your are interested or in a case of a migration you can install WordPress manually. For that reason we prepared this guide.
WordPress itself consists of two parts:
- source files
- database.
Manual installation incorporates uploading the source files to our server to the space on your hosting, creating the database and connecting both of these parts in configuration.
Prerequisites
You will need before the installation itself:
- WordPress, or more precisely source files – new clean installation can be found at https://wordpress.org/ in a .zip file which is recommended to unzip prior to upload.
- FTP client – program that allows you to upload the WordPress files to our server, and FTP login credentials
- Prepare the server to the installation web -> Web -> PHP settings
- set your PHP version to PHP7 or higher
- set your memory_limit to at least to 128MB
- set max_execution_time at least to 30s
- check the directory on your server via FTP if it is empty
2. Create database
You can create a database for your hosting by following this guide. We would recommend to note or remember the following details:
- database server (hostname)
- database name (db name)
- username
- password
You can choose amongst multiple database types. We would recommend MariaDB 10.5 or mysql8.0
3. Preparing source files before upload to the server [optional]
Before your upload the files to the server it is possible to set connection for the newly created database by editing configuration file wp-config.php. You can gain it by renaming the file wp-config-sample.php to wp-confing.php. You will need the details from the step 2 – edit following lines:
/** WordPress database name*/
define(‘DB_NAME’, ‘database name’);
/** Username to the database*/
define(‘DB_USER’, ‘username’);
/** Password to the database*/
define(‘DB_PASSWORD’, ‘password’);
/** Database server address – can be found in the administration – databases */
define(‘DB_HOST’, ‘database server’);
4. Upload files to the server
Step 4 requires FTP client like Filezilla which is free. Login credentials can be found in the administration.
Upload files to the directory /web, if the WordPress is supposed to be on the main domain.
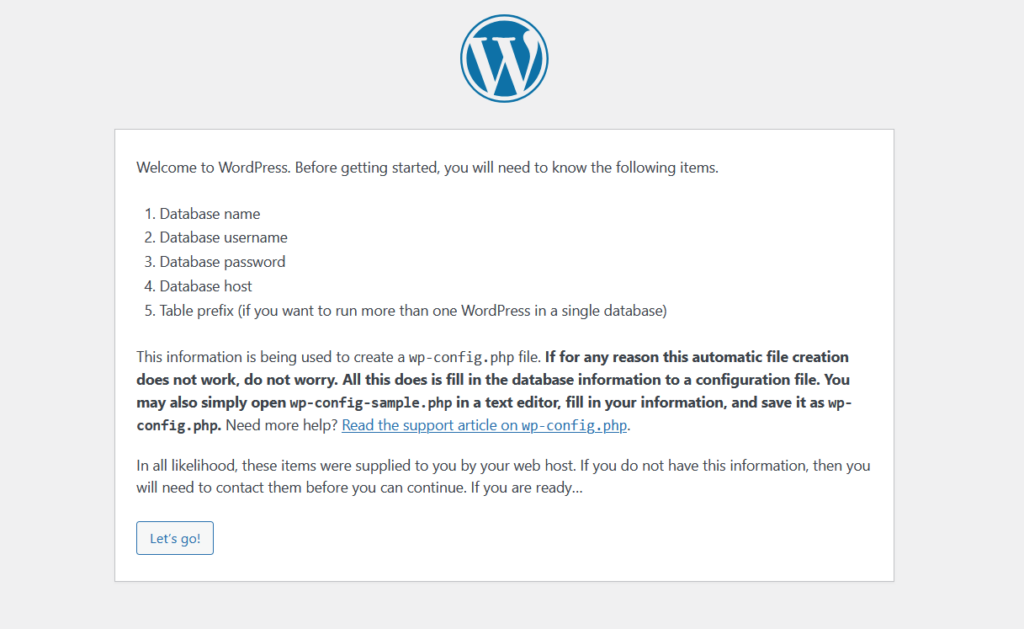
5. Finish installation
After the database is created and source files copied to the server, all that remains is to finish the installation of WordPress. If the domain is pointing to the server, enter your domain to the browser. If your domain isn’t pointing to the server (after entering your domain to a browser nothing is displayed), it is necessary to use hosts file. We do not recommend by any means to use for testing / installing WordPress the testing link in the form of d.wbsprt.com/domain.tld/ or domain.tld.d.wbsprt.com
After your domain loads, installation guide will ask you to choose your language.
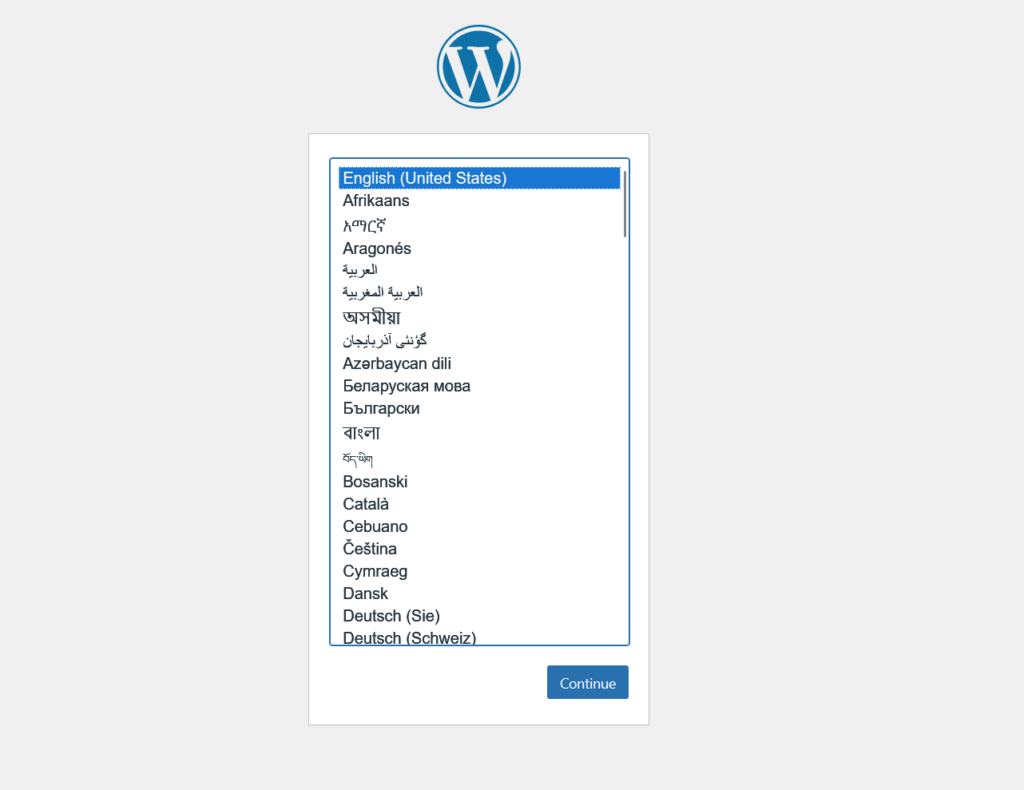
After you choose language, you will see this language:
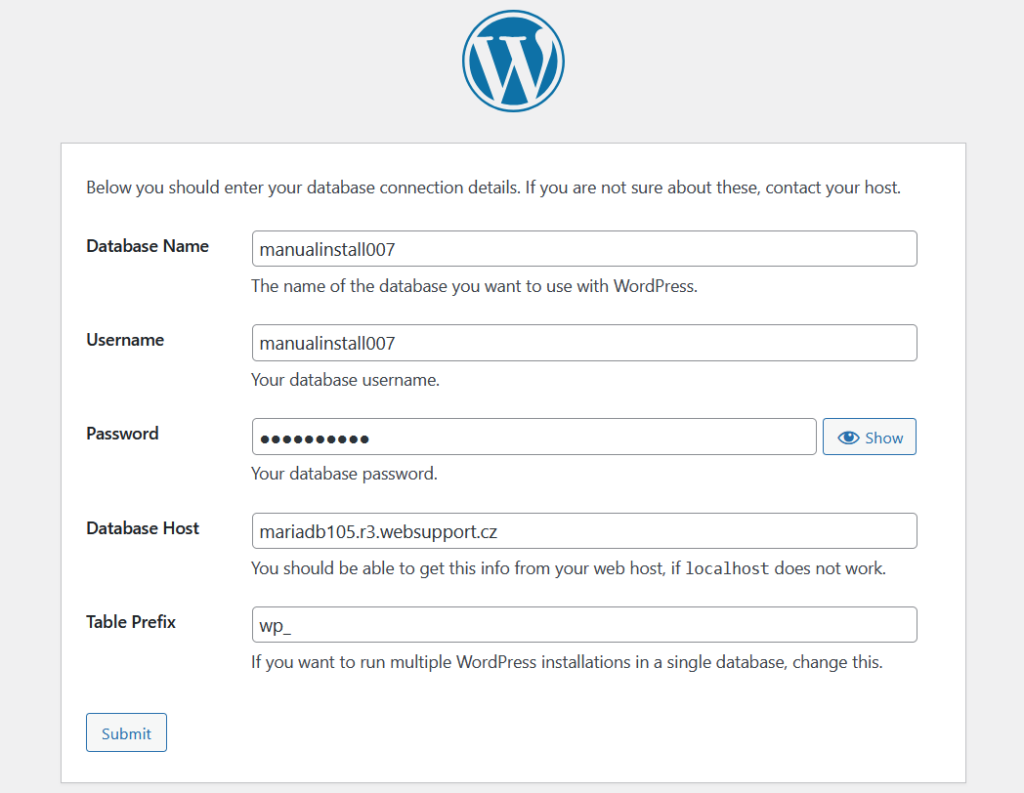
After language selection if you have not edited file wp-config.php in step 3, you can set a connection to the database:
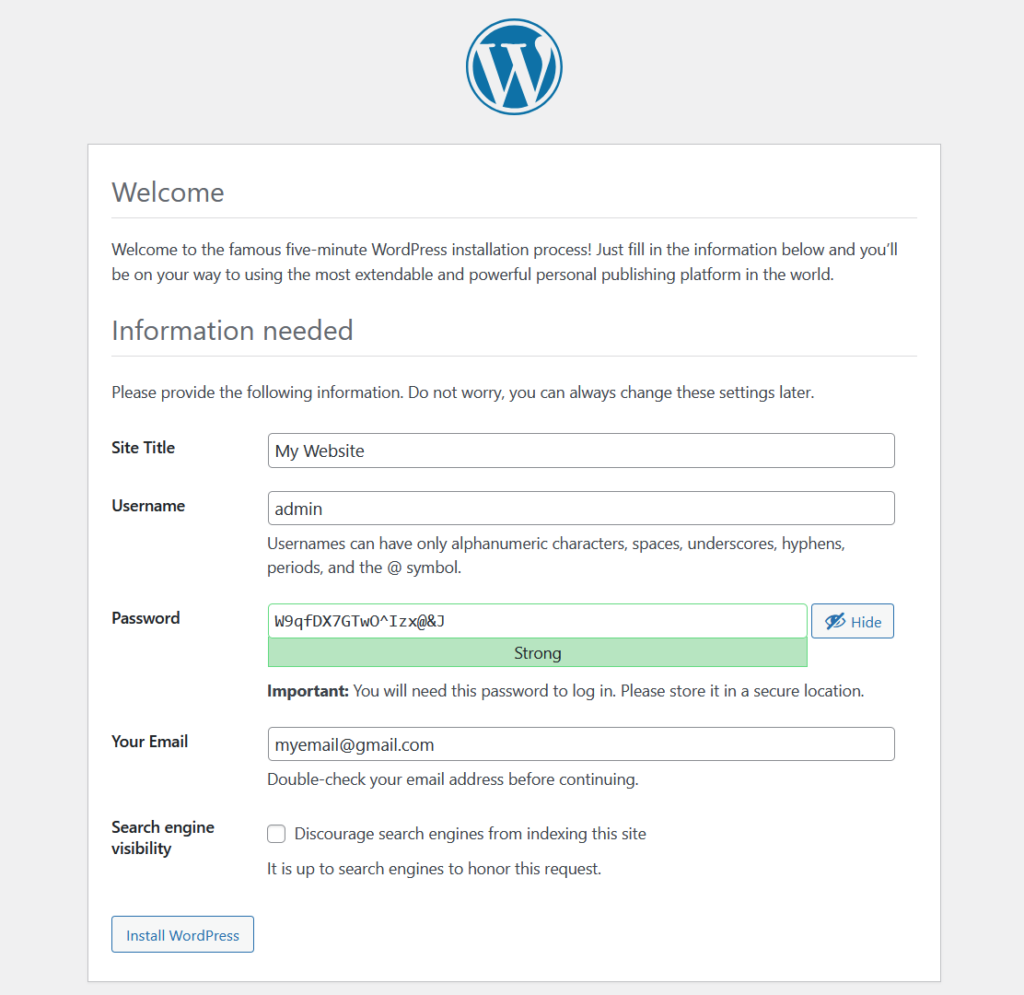
After the database connection settings continue to setting of administration account and basic information about the website:
- Website name
- User name – your login to WordPress
- Password – your password to WordPress, entered twice, we recommend to set a strong password of 8 character at least including lower/upper case letters, numbers and special symbols (no diacritics however)
- E-mail – email of the administrator of WordPress, used for password restore
- Visibility for search engines – if you are starting with the WordPress we recommend to check this option so the Google (for example) would not index unfinished work-in-progress website.
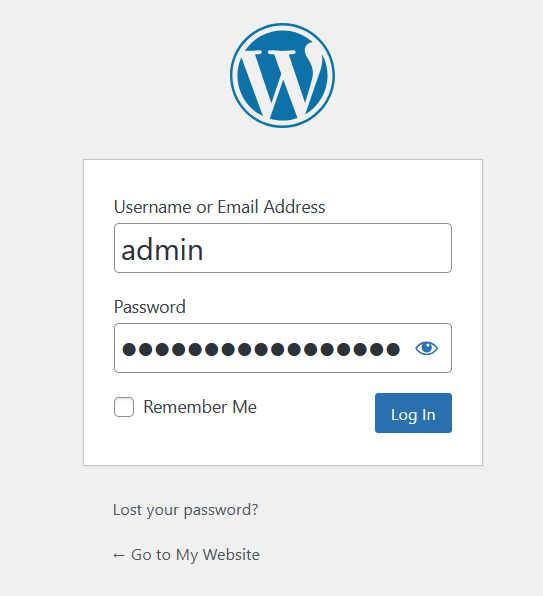
After the installation is complete, you can immediately log in to the WordPress administration at yourdomain.tls/wp-login.php