Setting up an email account in Outlook on a macOS device is easy. In this article, we’ll cover the basic settings for connecting to our server.
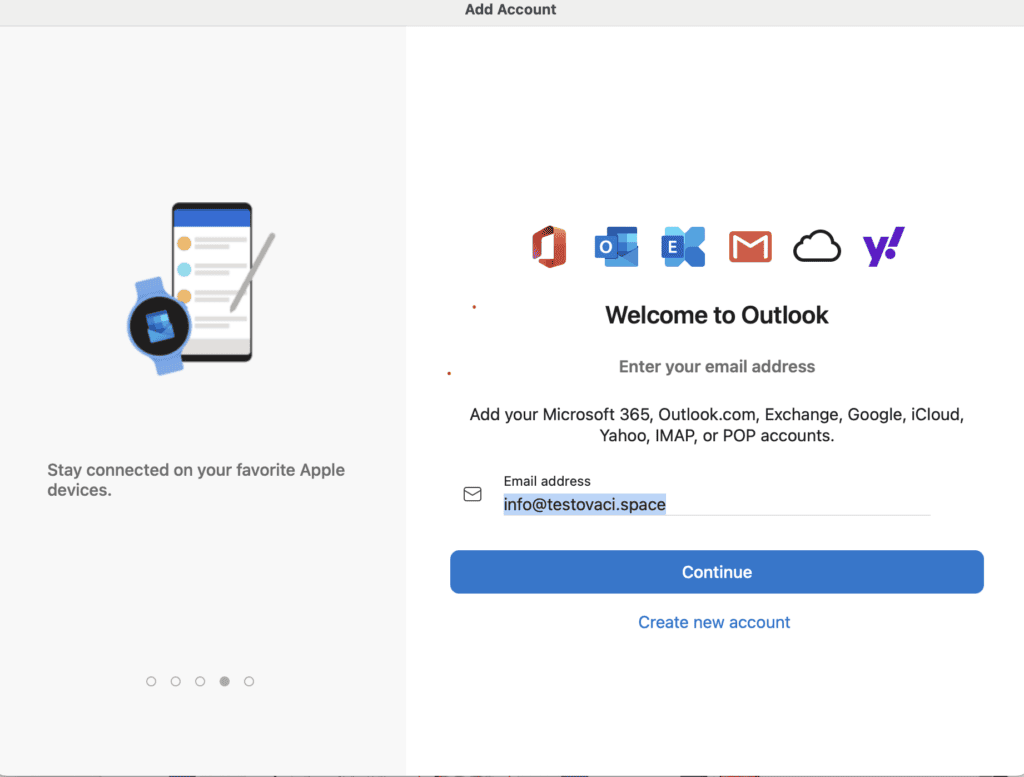
1. To add a new account, just turn on Outlook on your device. For the first email account you add, Outlook will prompt you automatically.
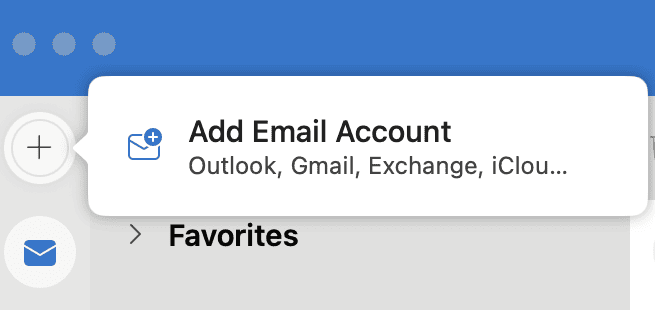
Alternatively, you can add a new email account via the + button on the left side and select Add Email Account.
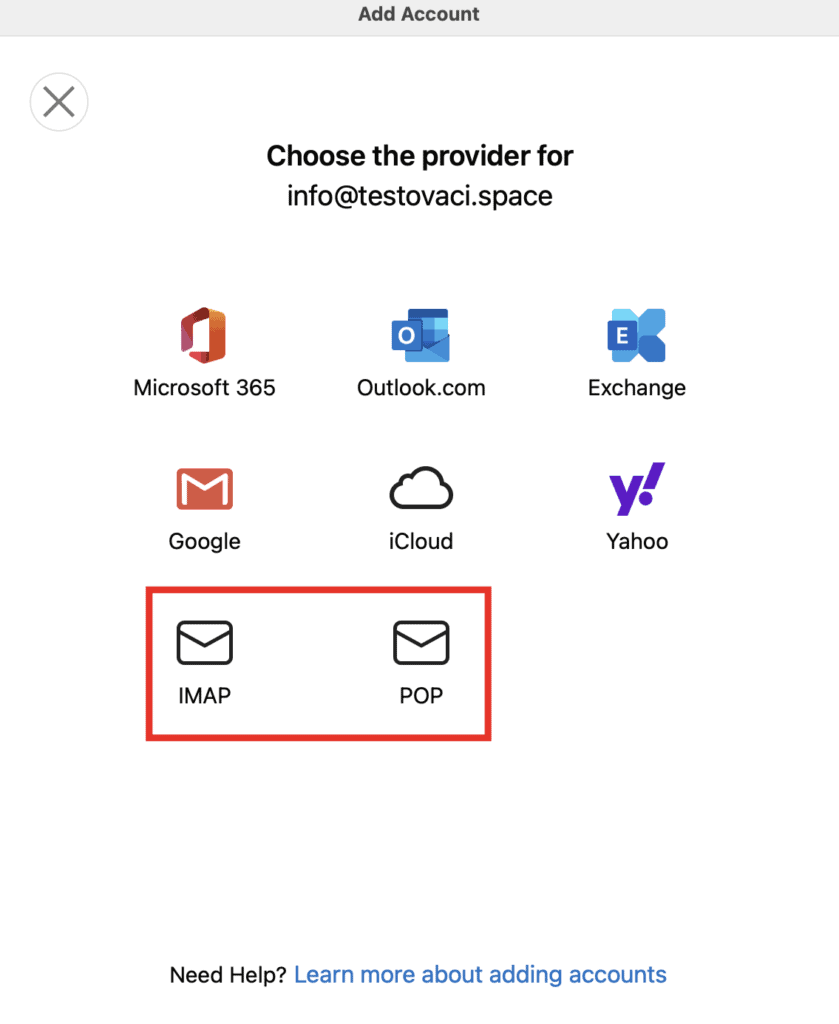
In the next menu, select an IMAP (recommended) or POP account. For more information between these settings, you can read the Mail Protocols article.
In the next step, you have the option to sync your email with Microsoft Cloud. To connect to our server, we go to the option to synchronize the mail protocol of our choice (IMAP/POP).
Select Sync directly
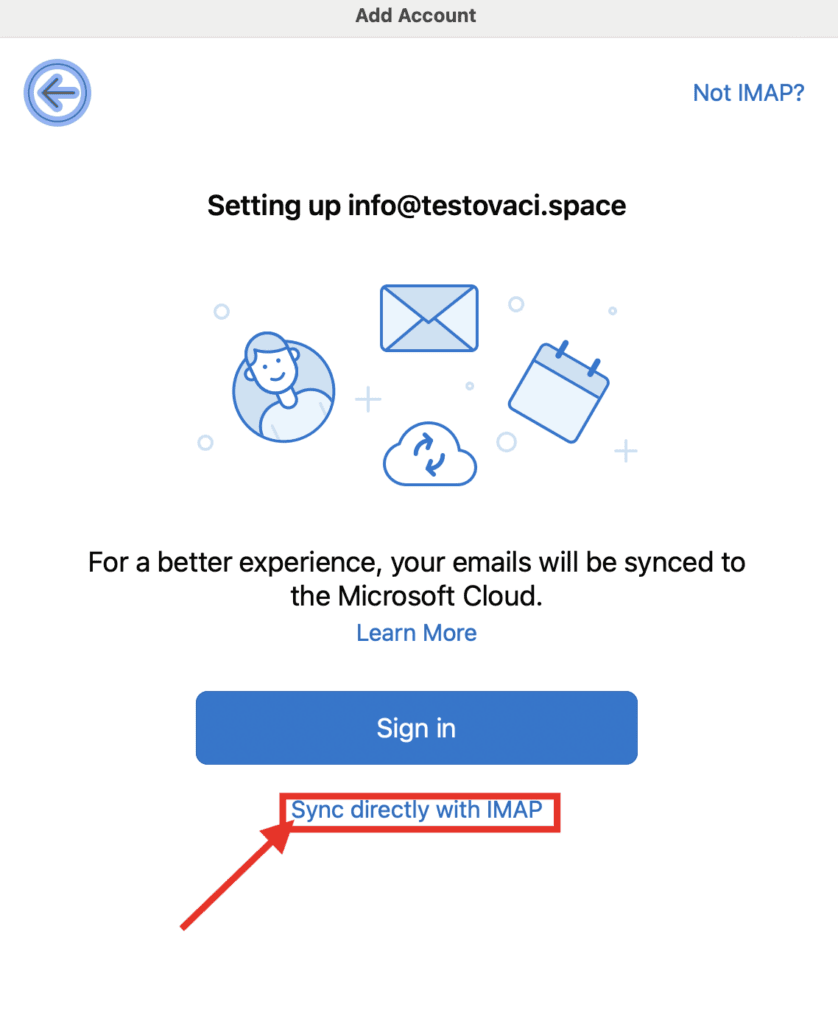
You will be presented with a form to fill in your account information.
Email address = your email
Username = your email
IMAP password (POP) = password to your email
Incoming mail server = imap.websupport.cz (for IMAP) OR pop3.websupport.cz (for POP)
Port 993 for IMAP (995 for POP), SSL encryption
Outgoing mail server (SMTP) = smtp.websupport.cz
Port 465, SSL encryption
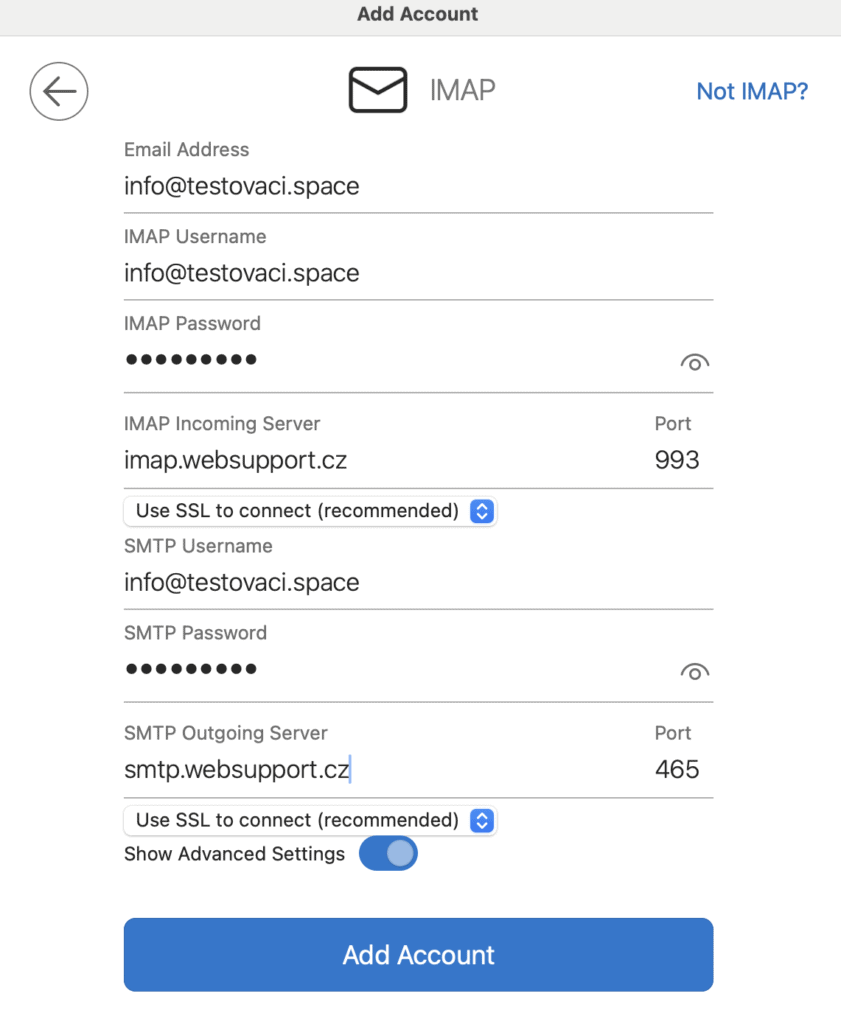
After filling in the information, click Add account.
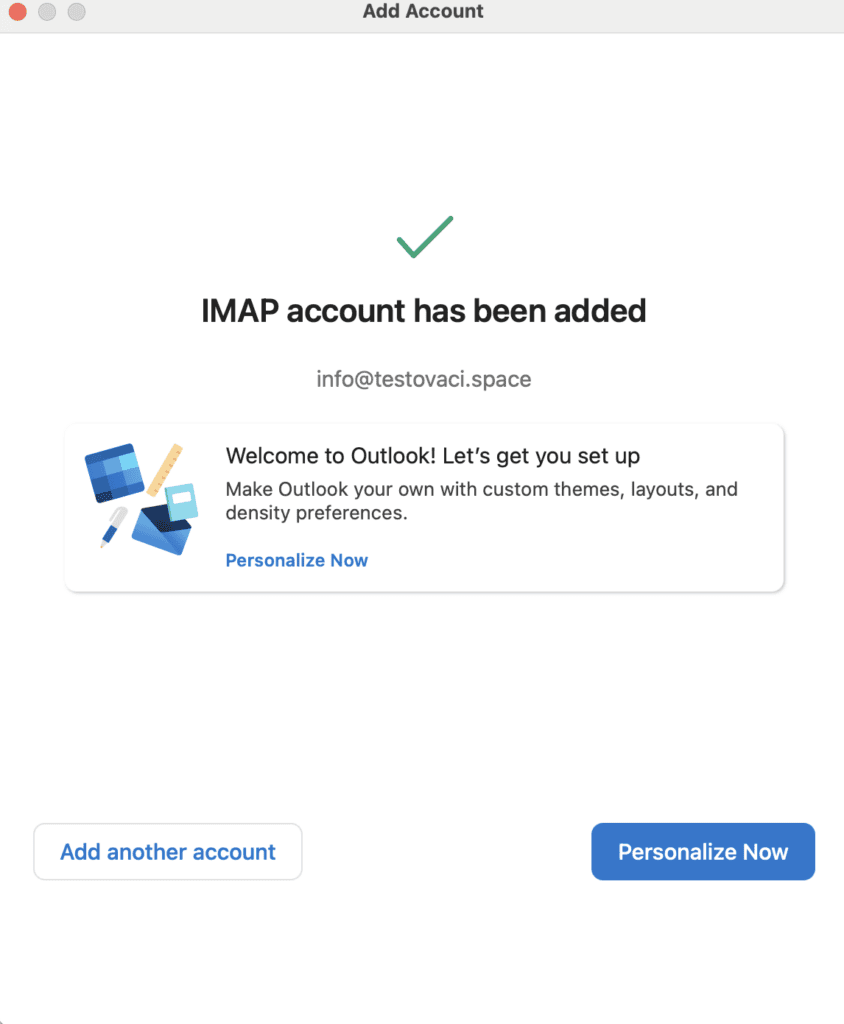
If everything is in order, the account will be added in no time. You can further customize your account or add another mailbox.
