
You can access your email wherever you are—whether you’re at your computer, using your phone, or logged in to our webmail. You can easily create a new mailbox from the WebAdmin dashboard.
We offer email in three forms:
- Hosting – email included as part of a hosting package.
- Website Builder – email included as part of a website-building package.
- Business Mail – a standalone email service with advanced features.
The process for creating a mailbox is essentially the same for all three services, so it’s easy to follow. Want to learn more about the differences between the Business Mail packages and the additional features they offer? You’ll find everything in the article Business Mail – Packages and Modules.
Creating an email mailbox
This guide will help you create a mailbox with any of our services—Hosting, Website Builder, or Business Mail. It’s the quickest way to get started, as you can set everything up directly from the service overview in WebAdmin.
- Log in to WebAdmin. Once logged in, you will see an overview of your services. Click Set up a service in the top-right corner.
- Select Create e-mail account from the menu.
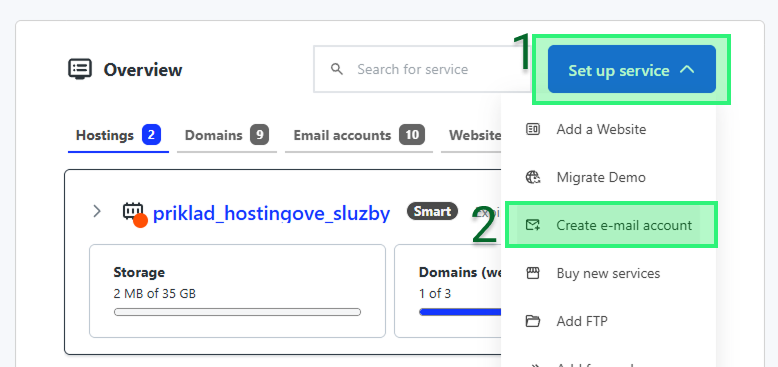
3. Select the domain or subdomain where you want to create the mailbox, then click Continue.

- Enter a name for the mailbox, such as info, and set a password. The password must contain:
- At least 8 characters
- At least one uppercase and one lowercase letter
- At least one number
- At least one special character
You can also create a secure password using the Generate random button.
To create multiple mailboxes at once, click Create another e-mail account.
Otherwise, click Continue.
- Check the name of the mailbox you are creating and click Finish setup. Your new email mailbox will then be created.
Other way to create an email mailbox
1. Select your domain you wish to create mailbox for in the list of services.
(domain has to be connected to the hosting)
2. In the left menu select Emails
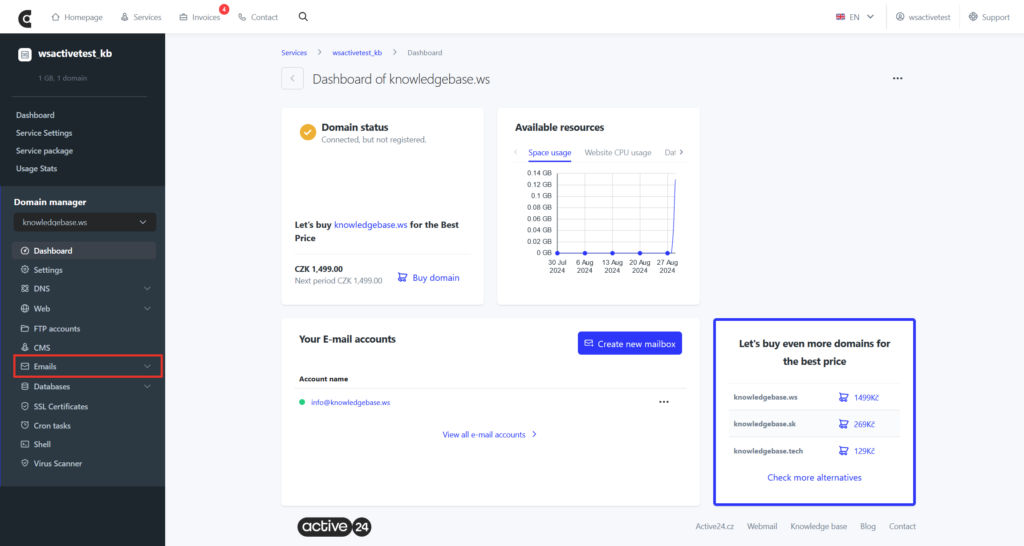
3. Select Create new mailbox in the top right
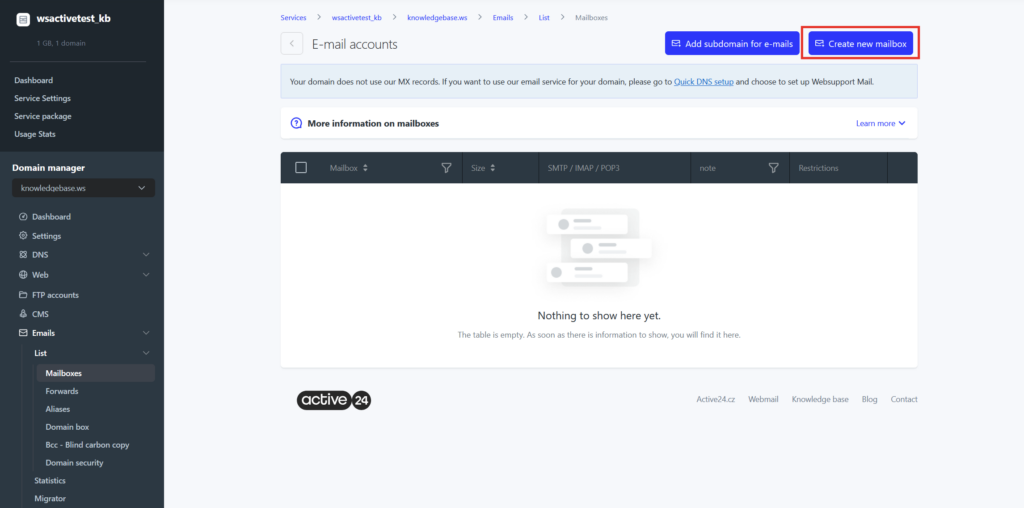
4. Lastly fill in mailbox information like name (something@yourdomain.com), password or advanced settings like GEO protection, IMAP directory etc. These don’t have to be changed, it is optional. Your mailbox will be activated within 15 minutes after creating.
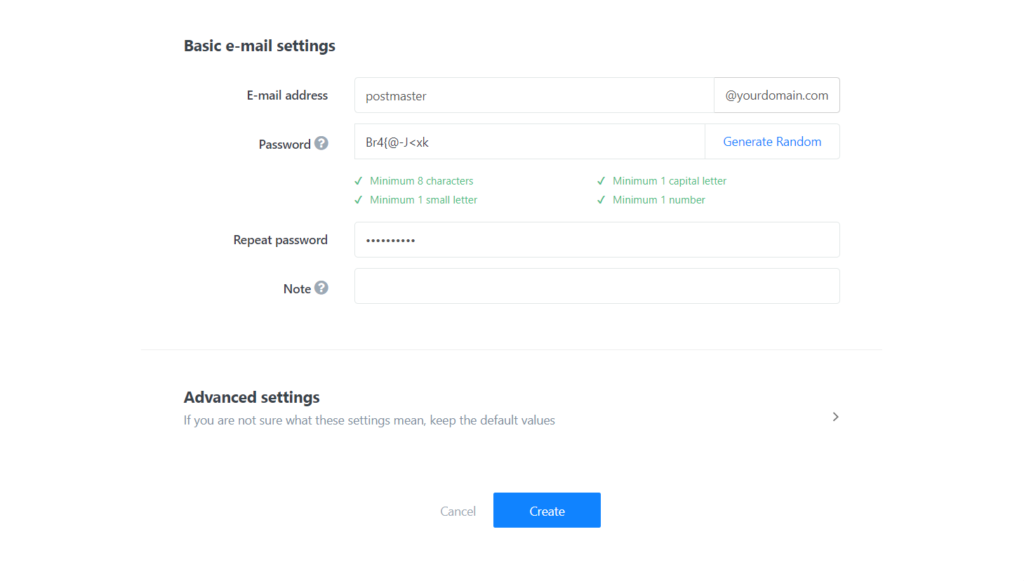
5. Select Create to create your mailbox